Monday, 29 June 2015

There is more to soil than meets the eye!

Buying topsoil is not as simple as it may seem. Here we offer some advice and considerations to keep in mind when deciding what materials will suit your project best. 

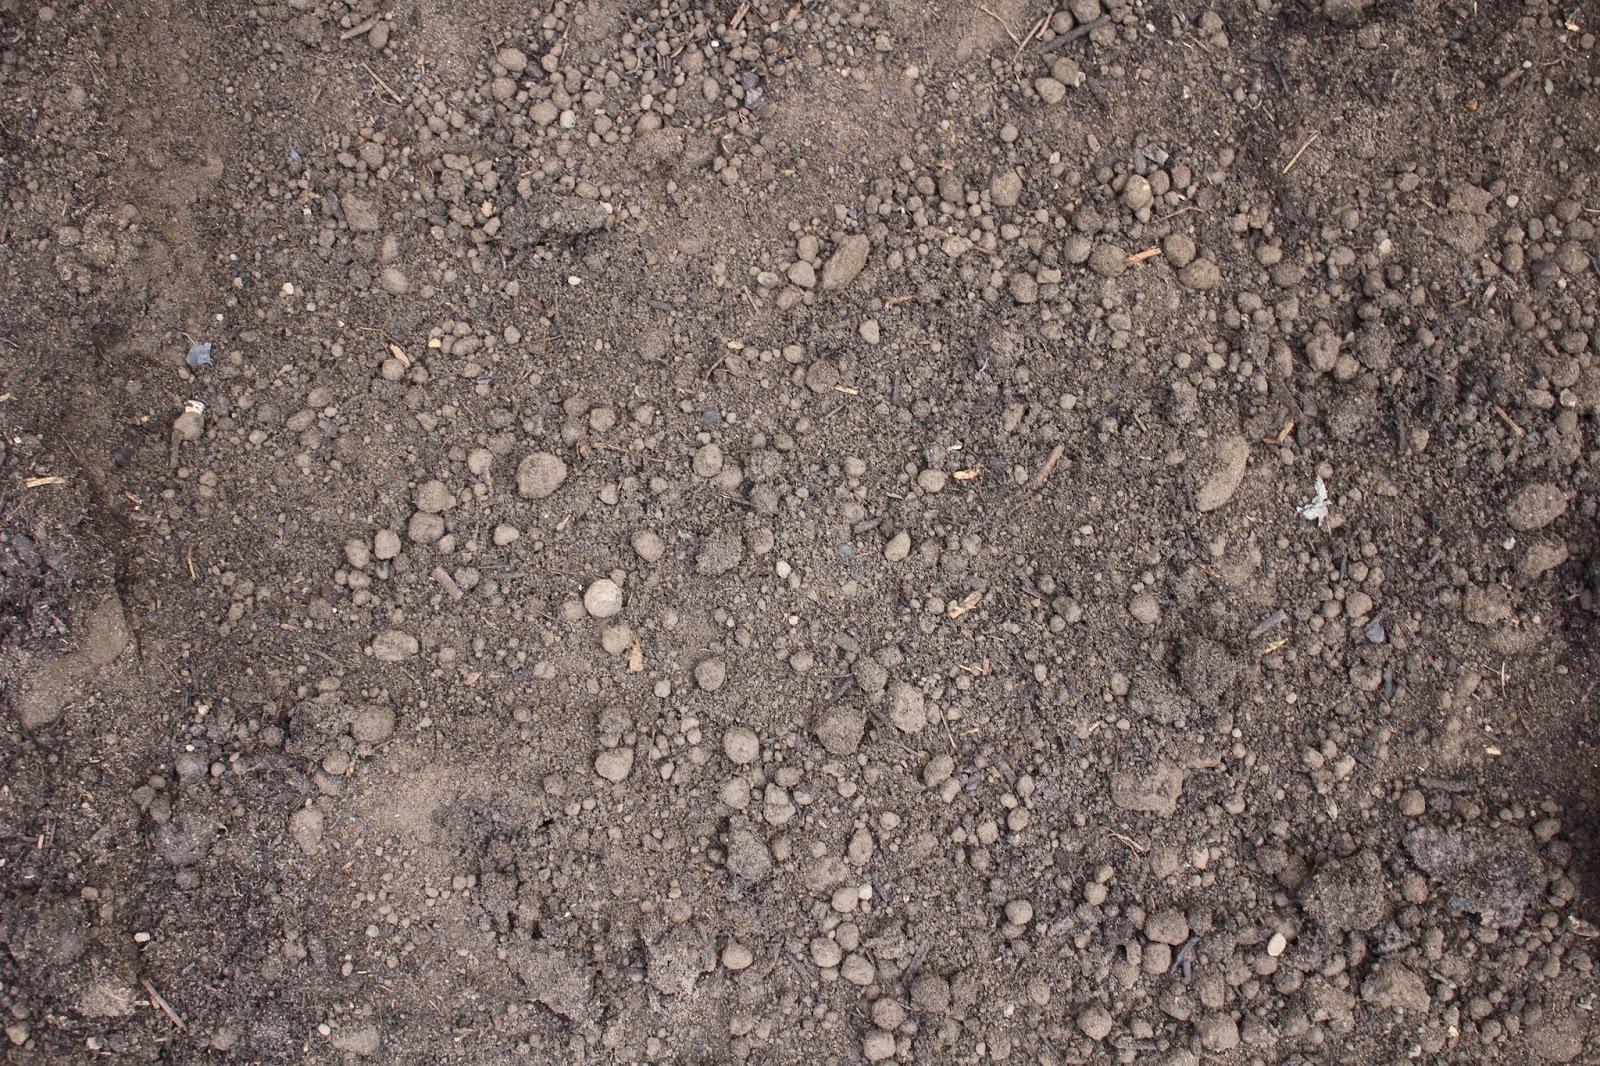
Topsoil is the uppermost layer of soil, which is high in nutrients and organic matter. At Country Supplies, we stock two types of top soil; Grade A and Grade B. It can be used for making new beds, borders, raised beds or as a base for lawns, where the natural soil is poor or non-existent.


Quick facts

  • For laying lawns you will need at least 10cm (4in) layer of top soil
  • New beds will need about 20cm (8in) or more
  • Topsoil is available in 2grades: Grade A and Grade B
  • Good quality top soil should meet British Standards 3882:2007

Why buy topsoil?

You may need to buy in topsoil if the existing soil is poor, damaged or if the space to be gardened has no natural soil, such as a courtyard or patio garden.

Where to use topsoil

Many gardens have poor soil, such as those found behind new-build homes, where the natural topsoil has been stripped away during the construction process. Topsoil can be used to cover the ground, to create new beds, borders or to provide a base for turf laying or sowing grass seed. In paved gardens where there is no access to soil, topsoil can be used in raised beds for growing many plants, including vegetables.

Product choice

Topsoil is generally available to buy in three different grades: premium, general-purpose grade and economy grade.
  • Grade A: This can be expensive but should not bring in weed seeds. High in fertility, this loamy soil has good structure and is commonly used to build up flower borders or create new beds, while nurseries use it in compost mixes for container grown plants
  • Grade B or General-purpose grade: This can be bought in differing screen size grades. Also good for making new beds or borders, or as a base for sowing new lawns. Coarser grades are particularly useful for turf laying while finer grades are good for top dressing lawns 
Buying topsoil

To avoid later problems, it is best to check the topsoil before buying it. All of our soil at Country Supplies is checked and screened but if you for some crazy reason are going elsewhere, look out for high stone content, thick fibrous roots, weeds and contaminants such as glass and brick. Inspection will enable any concerns you may have to be discussed before purchasing it.

Ask the supplier where it is coming from and whether it all has the same origin (building sites are often used as a source and the quality can be variable). If the supplier has had soil analyses undertaken request a copy. If they claim it is good and state facts and figures request these details in writing.

The following criteria (taken from BS3882: 2007 Specification for Topsoil) can be used as a guide against any analysis report a supplier offers you.


Premium grade
  • pH = 5.5-7.8
  • Phosphorus (P) Index min = 2
  • Potassium (K) Index min = 2
  • Magnesium (Mg) Index min = 1
General purpose grade
  • pH = 5.0-8.2
  • Phosphorus (P) Index min = 2
  • Potassium (K) Index min = 2
  • Magnesium (Mg) Index min = 1

Note that imported topsoil can sometimes introduce invasive plants, such as Japanese knotweed and couch grass to the garden. Inspect  the soil for signs of weed roots or shoots. Weed roots are often white and fleshy, sometimes with a brown covering, unlike the brown, dry, fibrous roots of trees and shrubs.

Friday, 26 June 2015

Travertine Q & A


After our last blog talking about considerations in laying Travertine Paving, we have been inundated with questions about Travertine, largely "what is travertine?".


Q. What is travertine?

A. Travertine belongs to the larger family of stone called limestone, which is also known as calcium carbonate. Travertine is a type of limestone that has had additional heat and pressure applied to it by the earth’s crust. It is formed by minerals dissolved in ground water, which are then deposited on the earth’s surface by rivers, natural springs, or geysers.

Q. What colors does travertine come in?

A. Travertine comes in many different natural colors including beige, brown, gray, and gold. There may also be slight undertones of green, red, and rust, depending on the origin of the stone and the minerals inherent in the specific selection. The color of travertine is the result of iron compounds and other organic impurities.

Q. What does the finished surface of travertine look like?

A. Travertine is available in four main finish options: polished (shiny), honed (matte), brushed (textured), and tumbled (textured). The type of finish given to travertine determines how shiny the surface will be. Polished surfaces are the shiniest, while tumbled surfaces reflect the least amount of light. Polished and honed surfaces are flat and smooth, while brushed and tumbled surfaces are flat and textured. The most common finish for travertine is honed.

Q. Where can I use travertine?

Travertine has been used as a building material for thousands of years. Today, travertine is used for flooring, wall cladding on buildings, showers, wall coverings and counter tops.

Q. What should I consider before choosing travertine?

A. Travertine is a material that comes naturally with holes and pores. These pores allow for efficient heat transfer, but do not retain heat; this allows the stone to remain cool to the touch. Many travertine options come with pores that are filled with a cement based filler prior to finishing. These fillers will eventually be removed over time, depending on wear and traffic.

Country Supplies recommends using a cement based grout or filler to refill these pores and reseal your tile if you find that the original filler has worn through. Since travertine is a natural stone, the variation and frequency of these pores will vary. We have done our best to sort, select, and grade these tiles to the appropriate standards.

Q. How durable is travertine tile?

A. Travertine has been counted on for centuries by cultures across the globe to last as flooring, wall tile, and other surfaces. Although travertine is susceptible to acidic substances and metal abrasion, it remains to be a surface to be counted on to look great for years, given that a cleaning and maintenance regimen is incorporated to make sure it retains its original look. Sealing the surface of travertine with an impregnator can help do this, and will make maintenance much easier.

Q. Are sealers really necessary?

A. Absolutely. Travertine is a porous material, which means that any liquids which spill onto the surface tend to leech into the body of the travertine. This can negatively affect how your travertine will look over time. A sealer, or an impregnator as it is also known, can make sure that any materials remain on the surface of the tile, until you clean them off, of course. This is the best way to make sure that your travertine retains its original appearance for as long as possible. Ask a Country Supplies  Expert which products to use, and how often you need to re-seal your tile. Always read the labels of the products you buy, take safety precautions where necessary, and follow instructions carefully.

Q. What’s the best way to keep travertine tile clean?

A. The best way to keep travertine clean is to remove dirt, grit, and other materials that are tracked in from outdoors. Many of these substances can cause minute scratches on the surface of your travertine which can become noticeable over time. So, it’s best to make sure that the surface of the travertine is clear with a damp cloth, soft broom, or vacuum as regularly as you can. Clean up liquid spills immediately, particularly if they are acidic in nature. Fruit juice is particularly problematic, as is coffee and red wine because of their tendency to stain. Even if you’ve sealed your travertine, it’s a good idea not to take any chances. Clear spills right away. Don’t use bleach, vinegar, or any harsh acidic-based cleaners, as these will degrade the surface of your travertine over time.

Q. What’s the best way to remove stains from travertine tile?

A. If a stain occurs on your travertine tile, cleaning it up is a fairly simple procedure. The reason travertine is susceptible to staining is the same reason stains are fairly easy to remove – travertine is porous. A procedure called ‘poulticing’ is a great way to remove stains because it draws the stain up from your travertine and into another material – a mixture of a reducing agent soaked into a cloth or paper towel is the most basic variety of poultice. The best methods should always be measured against the kind of stain you have. Ask a Country Supplies Expert for advice on what procedure to use based on the type of material that has stained your travertine.

Hope that clears it all up for you! :)

Wednesday, 24 June 2015

Considerations for Travertine Paving


Whether you’re a homeowner that is a seasoned veteran of the “DIY” method or you’re looking at hiring a professional to help you with renovations, it’s important to always know what methods are used for the installation process of any given function of your home.

Even if you’re not going to be doing the work yourself, it’s important to at least have an idea of what’s going on so that you can move forward with a little peace of mind. Peace of mind can go a long way towards establishing favor for your house. It’s with that in mind that you should definitely look into how travertine pavers are installed inside and outside of the home.

There are currently two methods that are commonplace with this type of paving, and each option relies on its own set of tools and sequences to get done properly. If you’re not familiar with either one, than you’ll want to look at the following travertine installation techniques before you try your hand at this or hire someone to do it for you.


The Two Methods are:

Dry Set
The first option that we will discuss briefly is called dry set. This is a highly recommended option that is often times touted as being far easier to get done than the other option, but it really is a matter of preference.

The process requires compacting soil that is not too damp or dry, as either option will cause issues with the overall process. Once this is done, a border is created and sealed off before pavers are set down.

Once pavers are set in the area, sand is added as a finishing touch. After this is done, polymeric sand is utilised to compact the pavers even more. A compactor can be utilised to push down on the tiles after they are placed evenly in an area and then swept clean.

This of course is a simplified explanation. Compacting soil then adding gravel as well as sand before laying tiles and then running a compactor over it requires more in depth research, but for the sake of this brief article, the steps are overtly simplified.


Mud Set
When it comes to the second option, many aren’t so quick to recommend it. However, many that work with travertine in general find that this option can work as well as the other.

This option requires a concrete surface to be down first, than an addition of mud is placed on top. The subfloor will receive a bonding agent, then grout, then the pavers will go on top of them. Each piece will get a slight nudge and tap with a hammer with care to ensure that nothing is broken.
Light grout is sometimes added to the joints, and in time this becomes set.

The above 2 ways to install pavers is simplified, and should be investigated further. Each option has several steps to get done, and can take a great deal of time. It’s important to employ patience when attempting this, and if you’re not sure as to what you’re doing, hire a professional that can help get things moving forward the right way.


Check out our travertine range here 

Sunday, 21 June 2015


(From BALI)
Brits are a nation of keen gardeners and spend on average four to five hours a week in their outdoor spaces, according to the UK Landscaping & Garden Trends Report by Houzz.co.uk, the world’s leading platform for home renovation and design.

Almost a third of UK homeowners (31%) will undertake a garden project this year1, with 28% planning to landscape or upgrade their grounds.
 
The report, which surveyed over 2,200 UK homeowners on Houzz2, affirmed that gardening is very much a national hobby. The majority of the respondents (67%) agreed that tending to their plots was the number one thing they enjoyed doing in their garden, ahead of relaxing (60%) and eating (43%). As enthusiastic gardeners, those upgrading their outdoor spaces plan to plant lots of greenery, including flowers (75%), bushes (61%) and trees (36%). However, since maintenance is a key concern, 44% of upgraders with a natural lawn have decided to reduce the size of, or replace it as part of their renovations. Of those, one in ten (11%) are replacing with artificial grass and 52% are opting to pave over.
 
With the majority of gardens likely outsizing the average size of a UK house3, Brits are making good use of their gardens. The majority of those upgrading their gardens (62%) want their garden to integrate with the rest of the home, while just under half (49%) want to create an outdoor space for entertaining. To make their gardens fit for social gatherings, Brits are furnishing their spaces with products such as benches (34%), BBQs (28%), fairy lights (26%) and patio heaters (11%).
Having a stylish and beautiful garden is the most important design aspect for Brits (67%), but functionality is also a priority. Over one in 10 (12%) rate storage as a key functional aspect; tools (54%), bikes (42%) and even fridges (5%) are kept outside.

The report also revealed:
  • Supporting wildlife: 39% of upgraders consider features that attract certain wildlife to be one of the most important design aspects when planning an outdoor renovation. 81% are including wildlife friendly plants, bird boxes or hives as part of their upgrade.
  • Grow your own: Over half of upgraders (51%) plan to grow edibles in their gardens, with the research suggesting that growing vegetables is becoming more of a trend; 62% of upgraders versus 45% of non-upgraders are growing leafy veg.
  • Flower power: When it comes to flowers, lavender (55%)  is the preferred choice for those upgrading their gardens. Roses (40%) and daffodils (39%) are second most popular.
  • Flooding damages: Over a quarter of people updating their gardens in the South West (28%) and Wales (27%) are trying to remedy problems associated with flooding and/or drainage to a greater extent than other regions.
Almost a quarter (24%) of those going ahead with an upgrade are doing so after finally finding the financial means. The majority of the respondents (61%) are setting aside a budget of less than £2,500 for their outdoor project, with over a fifth (22%) aiming to keep costs under £500. Forty-four percent are hiring a professional to help them with their project. 

Friday, 19 June 2015

Tips for your perfect lawn.


 (Article Credit to

With the Wimbledon tennis championships about to begin, many of you will be focusing on the perfect grass courts. So, despite my distaste for lawn nit-pickery and being the defensive owner of what can best be described as a ''laissez-flower'' version of the traditional British greensward, this week I will list seven better-class-of-lawn basics, starting with the most important.


1 Straight edges should be dead straight – use taut string, a proper half-moon edger and a plank. Curves should be broadly sweeping – for instant chic, iron out the nibbles caused by overhanging plants: laying out a sun-warmed garden hose and assessing things from an upstairs window is helpful. Every time you mow – and even when you haven't time – using edging shears to crisp up lines works wonders. Aim to keep front-row plants clear of the gully created by your smart edges and they will stay that way.

2 Use the right mower On dead-level lawns and on dry grass, properly maintained cylinder mowers create pukka stripes and give the best and neatest cut. Rotary mowers function well even on wet grass and less-than-perfect turf. Mulch mowers save time and effort, help to feed the lawn and control weeds, but are hopeless on long wet grass and never produce a really smart finish.


3 Mow little and often, particularly during May and June, but never mow very short. Lumps and bumps will be scalped, which not only looks awful, but encourages moss and weeds. Mow throughout winter during fine weather if needs be, but keep the blade on a higher setting.


4 Occasional chores make a big difference Compaction is at the root of many lawn problems, and aerating and topdressing the lawn in spring is the best way to strengthen turf by improving drainage. Use a hollow-tine aerator and a sandy turf dressing. At the end of summer, rake out dead and weak grasses, moss and debris. Bin the mess, don't compost it. In autumn, sweep matted leaves off the lawn regularly.
5 Weed and feed In spring use a high-nitrogen feed (there are all-in-one weed/moss controller-and-fertiliser products for those who favour them, although spot-weeding or gouging out the odd thug may be all that is needed). At the end of summer apply a specific low-nitrogen autumn lawn feed to strengthen grass roots. Do not add weed-killed grass clippings to the compost for a couple of months after treatment. As a quick pick-me-up for a midseason lawn, try an occasional soluble ''green-up'' nitrogen lawn feed, applied by watering can or hose mixer. Evergreen Mow it Less will do this without giving it a surge of growth.

6 Don't water during dry spells Remember that lawns always perk up within days of a good heavy shower.

7 Be realistic about trees Don't imagine you can achieve perfect grass by constantly reseeding under the dense canopy of trees. This is one place when even the most obsessive perfectionist should give up. However, lawns that have become weak and thin can be over-seeded in early autumn – do it after raking out debris, scattering grass seed mixed with a little turf dressing.


Of course, if your lawn is beyond repair, give us a shout and order some of our Sovereign Regal turf on a next day delivery! 


Wednesday, 17 June 2015

Double Decking!

We've  been asked a lot recently about our garden decking and especially how it is installed and on what sort of base, so we thought a short guide maybe helpful to our customers.  Of course it’s also a plug about our products, our softwood pine decking is proving very popular is our range of hardwood products.  Interestingly sales for the Ipe decking is increasing month on month.

As a quick guide we suggest the following, of course there are lots of ways of accomplishing the same thing but this, we hope, is a good guide or at least gives you a few pointers.

Planning
Like any project, planning is the most important part, it shouldn’t be overlooked, what’s the old saying?  The five ‘P’s’:  Planning Prevents Pi – –  Poor Performance!

So, first make a rough drawing of your design, laying out pieces of wood to mark the edge of the planned decking always helps me to visualise how it will look.  Decking board at right angles helps to draw your eye into the house, board’s parallel show off the width of the decking.
It’s a good idea to make a scale drawing and also add the house walls, openings, obstacles etc.  If you’re attaching the deck to your house always make sure that the attachment point is 150mm below the damp proof course.  Make sure as well, you allow access to inspection covers and importantly don’t block air vents.

Measuring
Using your scale drawing calculate the area of the deck.  Divide the area of the deck by the size of the decking planks you are using.  Remember you will have to include spaces for expansion and drainage between planks, we tend to use 5mm as a guide.


If you need help calculating what is required please do contact us.

Ground Work
Decking is usually built on a framework supported by concrete footings.  It can either be simply placed at ‘ground level’ or if needed ‘raised’ using uprights.
First it’s a good idea to use pegs and string to set out the deck perimeter.  Clear all turf and vegetation and firm the ground if needed.  It’s a really good idea to lay weed inhibiting membrane down on the area at this point to stop any nasties coming through.


Decking Frame
The frame work should be put on concrete foundations.  You could lay concrete for this but slabs are a lot easier.  Slabs would normally be placed in a grid pattern about 1400mm apart to allow for adequate support for the joists.  If you have bad drainage or poor soil condition consider using poured concrete in holes of at least 300mm square.  Use a spirit level and try to make sure the deck slopes (away from the house) roughly 10mm for every meter.

Create the outer frame of the deck with pressure treated timber.  150mm x 50mm is ideal.  Where the timber touches the ground use a damp proof course membrane.
In our ‘ground level’ method these joists will simply be placed on the ground being supported by the concrete grid.  For the ‘raised’ method these will be supported by uprights, I recommend 90 – 100mm sq timber.


With the frame in place use at least 100mm screws and wood glue to fix it together.  If the decking is being attached to the house make sure you add plenty of spacers to allow for a drainage gap.  Stainless steel washers are excellent for this.  Next you will infill the outer frame with joists spaced at 400mm intervals.  These should be at right angles to the finished decking tiles or boards.  You could use off cuts of timber to create noggins in between the joists for extra strength.

Laying the Decking
Once your framework is complete and totally rigid you can start laying your decking boards or tiles.  Lay about 6 boards at a time, we have already mentioned an expansion gap and to accomplish this evenly I tend to use a decking screw as a spacer (remove after fixing).


A few notes on fixing your decking boards:
  • Always use stainless steel or galvanised screws, there’s nothing worse than seeing rusty screw heads and stained decking boards.
  • Always pre-drill your screw holes, without this you run a risk of splitting the timber.
  • Screw the end of the boards first and then to every joist.
  • If the decking boards are wider than the deck you must make sure you stagger the boards and that joints are over a joist.
Enjoy!

Tuesday, 16 June 2015


 Our friends over at  StoneMarket recently appeared at the RHS Chelsea Flower Show. They featured one of our favourite products their Avant-Garde paving. Check out the news below.


Stonemarket’s Avant-Garde paving will feature in The Pure Land Foundation garden in the Fresh category to be unveiled at this year’s RHS Chelsea Flower Show from 19th-23rd May 2015.

The futuristic, yet elegant Fresh garden has been designed by award winning garden designer Fernando Gonzalez.
Fernando aims to highlight the extraordinary possibilities for creating highly individual and bespoke designs that can be created using new and exciting methods.

The Pure Land Foundation was established by Bruno Wang, a London-based Chinese businessman, philanthropist and patron of the arts, to realise his charitable objectives. Pure Land in Buddhism is the realm of higher consciousness, peace and harmony.

Bruno felt an immediate synergy with Fernando’s garden design which incorporates numerous Eastern elements with an air of serenity.

The hard landscaping includes the ground plane of silver Avant-Garde paving in an interesting linear design.

Jennie Lumley, Stonemarket Brand Manager said: “We are delighted to be sponsoring The Pure Land Foundation garden and to be working with award winning garden designer Fernando Gonzalez. As a brand synonymous with cutting-edge design and innovative products it was important for us to be involved in this year’s show.

“Avant-Garde is a high-end natural stone covered by our new stone standard, a mark of superior quality and our ethical Fairstone trademark - the perfect choice for a garden promoting nature and wellbeing.”

Take a look at the garden in this video. https://vimeo.com/126790354